
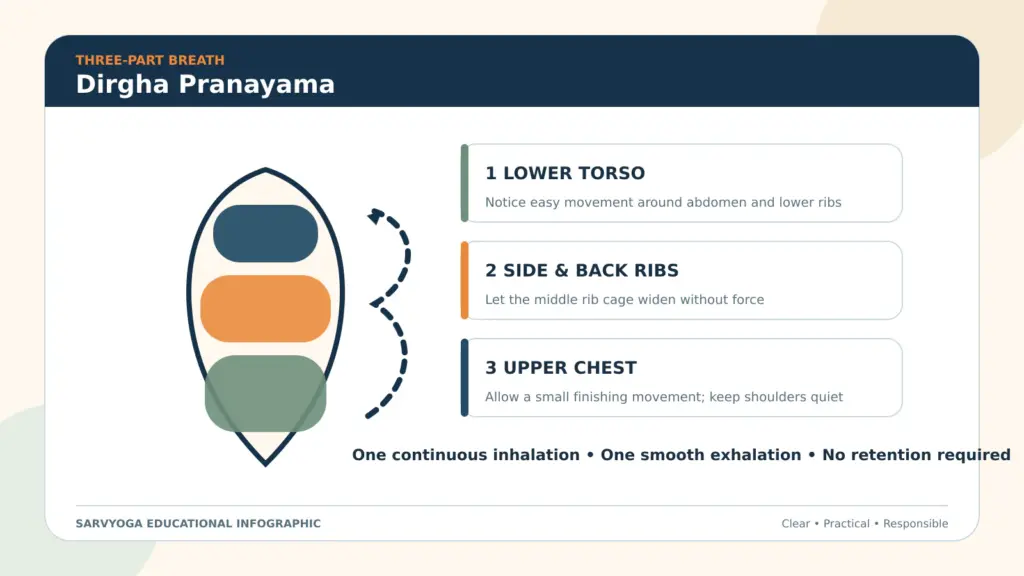
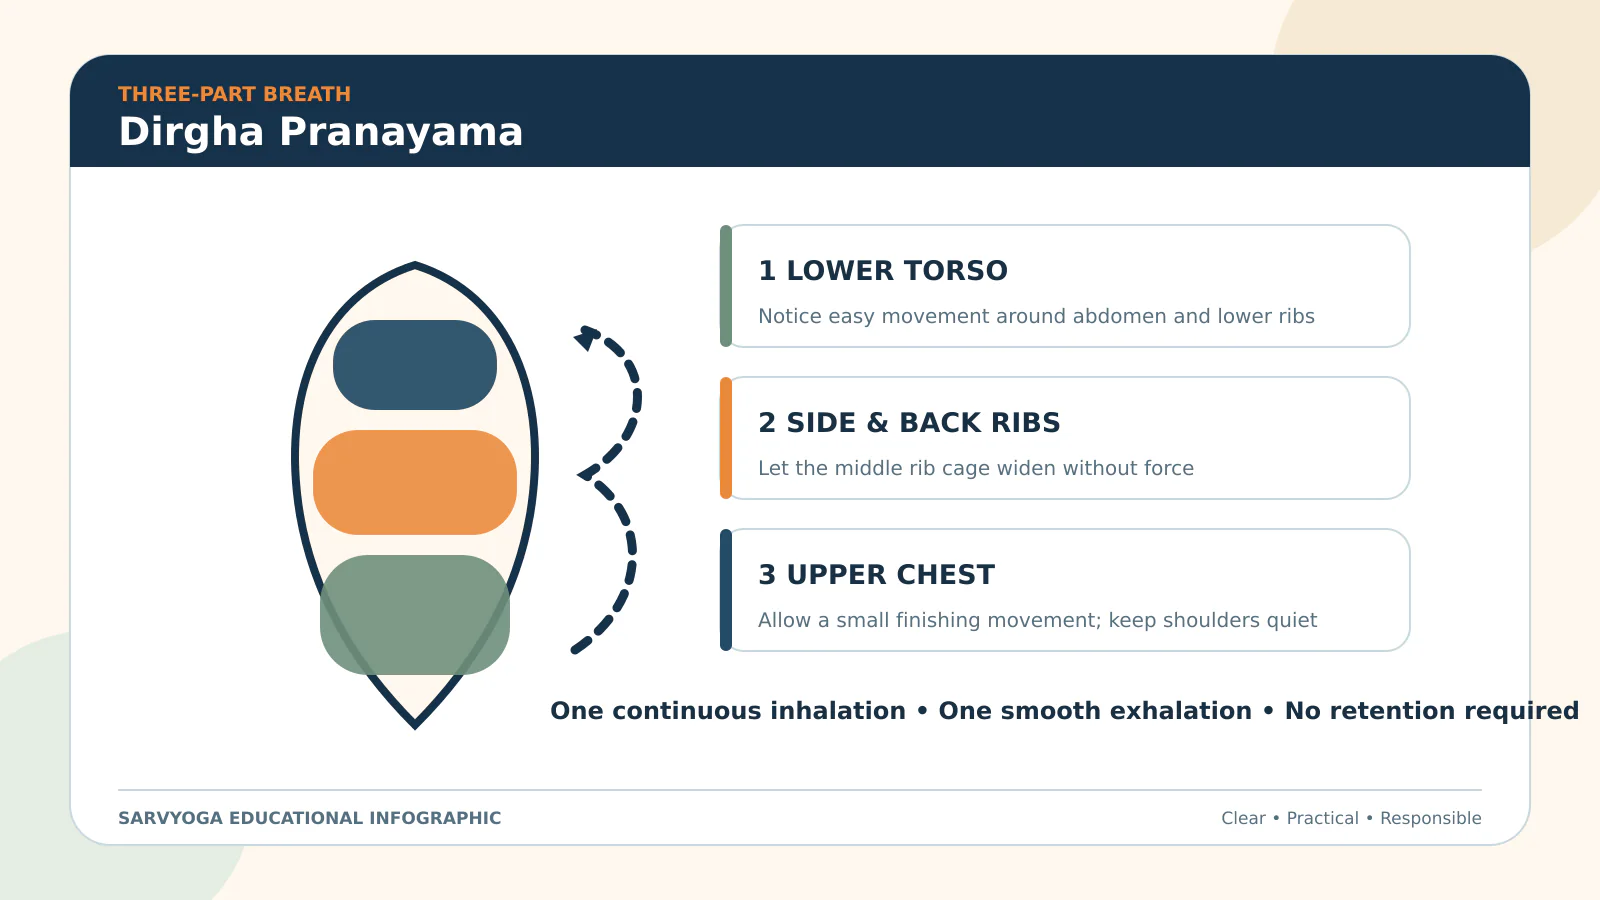
Dirgha Pranayama is commonly taught as the three-part breath. Dirgha means long, extended or complete. The practice develops awareness of how a comfortable breath can move through the lower torso, side ribs and upper chest without being forced into separate compartments.
The three-part description is a teaching method. In an actual breath, the diaphragm, ribs and supporting muscles work together. The aim is a continuous, quiet cycle—not the largest inhalation possible and not a performance of how much the abdomen or chest can move.
Navigator
What Are the Three Parts?
- Lower-torso awareness: gentle movement around the abdomen and lower ribs.
- Side- and back-rib awareness: expansion around the middle rib cage.
- Upper-chest awareness: a smaller finishing movement near the upper ribs and collarbones.
These regions do not need to move by equal amounts. The lower and side ribs usually provide more visible movement than the upper chest. Raising the shoulders to create a large third part adds tension rather than clarity.
Prepare a Comfortable Position
Dirgha Pranayama can be explored lying down, sitting on a chair or using a supported floor seat. Begin with the position in which ordinary breathing already feels steady.
- Reclined: lie on the back with the knees bent and feet on the floor. Support the head if the chin lifts.
- Chair: sit toward the front of a stable chair with both feet supported.
- Floor seat: sit on folded blankets in Sukhasana or another comfortable seat.
Rest one hand on the lower side ribs and the other on the upper chest. Use light contact; do not press the breath into the hands.
Begin with Regional Breath Awareness
Before combining the three parts, observe them separately for one or two breaths each.
- Breathe naturally and notice the lower torso moving beneath or beside the lower hand.
- Move both hands to the side ribs and feel whether they widen on inhalation and settle on exhalation.
- Place the fingertips below the collarbones and observe the smaller upper-rib movement.
- Return to ordinary breathing and relax the arms.
If one area is difficult to feel, do not enlarge the breath. Stay with light contact and repeat on another day.
Step-by-Step Dirgha Pranayama
- Settle into the chosen position and observe three ordinary nasal breaths.
- Inhale gently, first noticing movement around the lower torso and lower ribs.
- Continue the same inhalation into the side and back ribs.
- Let the inhalation finish with a small, easy movement through the upper chest.
- Exhale smoothly, allowing the upper chest, ribs and lower torso to settle without squeezing.
- Pause only if a natural, unforced pause appears.
- Repeat for three to six cycles.
- Release the technique and take several ordinary breaths.
The transitions should be difficult to see from outside. If the breath stops abruptly between “parts,” reduce the effort until it becomes one continuous wave.
Should the Exhalation Reverse the Order?
Some teaching methods describe the exhalation from upper chest to ribs to abdomen; others simply ask the whole torso to settle. Both can be useful learning approaches. Avoid pushing the abdomen inward to empty the lungs completely. Let the exhalation remain controlled but receptive.
A beginner does not need a fixed ratio. When the natural breath becomes steady, the exhalation may be allowed to lengthen slightly, but it should never create urgency before the next inhalation.
Posture Options and Prop Support
- Place a folded blanket under the head in the reclined position.
- Support the knees over a bolster if keeping the feet on the floor requires effort.
- Use a wall behind a seated position as a light reference rather than leaning heavily.
- Keep the eyes softly open if closing them makes orientation less clear.
- Rest the hands on the thighs when hand placement on the torso encourages over-control.
Common Mistakes
- Trying to take the deepest possible inhalation.
- Inflating the abdomen forcefully instead of allowing lower-rib movement.
- Lifting the shoulders to create the upper-chest phase.
- Breaking the inhalation into three hard steps.
- Squeezing the abdomen at the end of exhalation.
- Adding breath retention before the continuous breath is comfortable.
- Practising too many rounds and losing the quiet quality of the breath.
Teacher’s Note: Teach Sensation Before Volume
The most useful early question is not “How big was the breath?” but “Where could the breath be felt without additional tension?” A teacher may begin with side-rib contact, because “belly breathing” can be misunderstood as actively pushing the abdomen outward.
Watch the jaw, throat, shoulders and hands. If these areas begin working harder, return to an ordinary breath. A smaller cycle with clear movement is a stronger foundation than a large cycle that must be recovered from.
How Dirgha Differs from Other Practices
Dirgha Pranayama organises awareness across the torso. Ujjayi Pranayama uses a soft throat sound as feedback. Anulom Vilom alternates the nostrils. These techniques should be learned separately before being combined.
Dirgha may be used as preparation for simple seated observation or before a gentle asana practice. It does not require rapid breathing, strong abdominal action or retention.
A Short Beginner Practice
- Observe natural breathing for one minute.
- Feel the lower ribs for two breaths.
- Feel the side and back ribs for two breaths.
- Observe the upper chest for two breaths.
- Combine the regions for three complete cycles.
- Return to ordinary breathing and notice the difference.
Practice Limits
Stop the technique and return to ordinary breathing if there is dizziness, breath urgency, tingling, pressure, agitation or unusual discomfort. Do not compete with a count or another person’s breath capacity. A qualified yoga teacher can help adapt the position, hand placement and number of cycles.
Frequently Asked Questions
Is Dirgha Pranayama the same as deep breathing?
Not exactly. It is a structured awareness practice. The breath may become fuller, but the emphasis is on continuity and regional awareness rather than maximum depth.
Must Dirgha Pranayama be practised lying down?
No. Reclining makes movement easier to observe, while a chair or supported floor seat prepares the practitioner for seated pranayama.
Should beginners hold the breath?
No retention is needed. First establish a smooth inhalation, a smooth exhalation and an easy return to ordinary breathing.