
Pranayama for beginners should start with a comfortable seat, awareness of natural breathing and one clearly understood technique at a time. Strong breathing, long counts, retention and bandha are not necessary for an introductory practice.
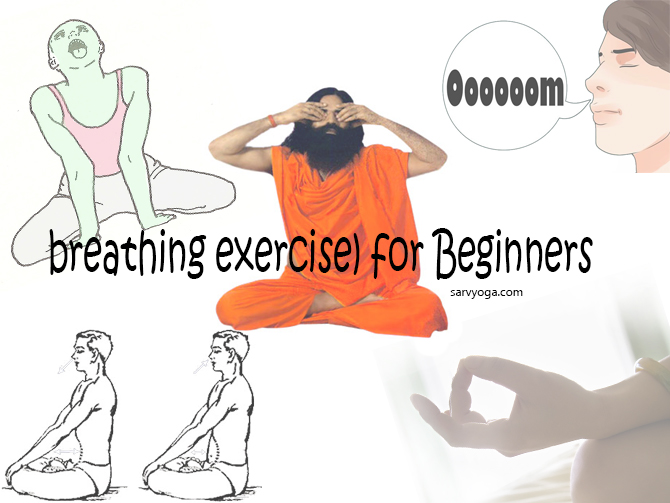
Navigator
What Pranayama Means
Pranayama is commonly explained as the disciplined expansion, regulation or refinement of prana through the breath. In classical yoga, it follows the establishment of a steady posture. It is more than taking deep breaths: the method, attention, rhythm and pauses all matter.
A beginner first learns to notice the breath without immediately controlling it. This creates a reference point for recognising when a technique remains smooth and when effort has become excessive. Read the SarvYoga pranayama foundation guide for more background.
Set Up a Comfortable Seat
- Sit on a chair, cushion or folded blanket.
- Support the feet or knees so the legs do not distract from the breath.
- Let the spine rise naturally and keep the chin level.
- Relax the hands, shoulders, jaw and abdomen.
- Choose a quiet practice period with no need to rush.
A floor posture such as Padmasana is optional. The best seat is the one that supports alertness without strain.
1. Natural Breath Observation
Place the hands comfortably and notice where the breath is easiest to feel: at the nostrils, chest, ribs or abdomen. Do not correct the rhythm. Observe five to ten breaths and notice whether inhalation flows directly into exhalation or includes a natural pause.
This is a complete beginner exercise. It develops the attention needed for every later technique.
2. Equal, Easy Breathing
Allow inhalation and exhalation to become approximately even without forcing an exact count. A quiet count of three may be suitable for one person and unnecessary for another. Stop counting if it makes the breath hurried.
- Observe two natural breaths.
- Inhale gently through the nose.
- Exhale at a similar, comfortable pace.
- Repeat for three to five rounds.
- Return to natural breathing.
3. Alternate-Nostril Breathing Without Retention
Use light finger pressure to breathe through one nostril at a time. Inhale through the left, exhale through the right, inhale through the right and exhale through the left. This completes one common round.
Keep the breath smooth and avoid deliberate pauses. The detailed Anulom Vilom guide explains the hand position and sequence.
4. Gentle Humming

Inhale comfortably and make a soft humming sound during exhalation. Finish the hum before the throat tightens. Pause for ordinary breathing between rounds and keep the face relaxed.
This introduces the relationship between exhalation, sound and listening. See Bhramari Pranayama for a complete explanation.
5. Udgeeth Chanting
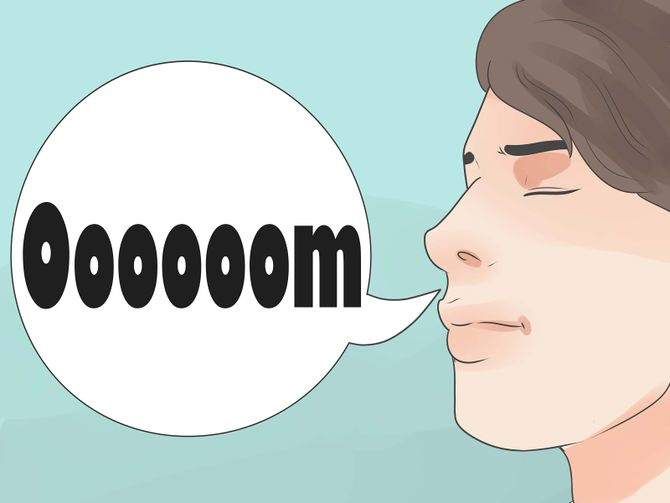
Inhale naturally and chant Om at a moderate volume during exhalation. Let the sound fade while it is still smooth, then listen quietly before the next breath. Begin with three rounds.
The Udgeeth Pranayama guide covers posture, sound and modifications.
6. Soft Ujjayi Awareness
Breathe through the nose and create a very soft whisper-like texture in the throat. The sound should be subtle and the throat should not grip. If the technique is unclear, practise with a teacher rather than increasing the volume.
7. Lion’s Breath

Sit steadily, inhale through the nose and exhale through the open mouth while extending the tongue comfortably. Keep the sound natural and release the face after each round. Study the full posture separately if you want to combine the breath with Simhasana.
Finish with Quiet Sitting

After the chosen technique, stop controlling the breath. Sit quietly and notice the natural rhythm for one or two minutes. This transition is part of the practice, not an empty interval.
A Simple Beginner Sequence
- Settle the posture: about one minute.
- Observe natural breathing: five to ten breaths.
- Choose one technique: three to five comfortable rounds.
- Return to natural breathing: several breaths.
- Sit quietly: one or two minutes.
Do not combine all seven practices in one session. They are learning options, not a required daily list. Stay with one method until the sequence is familiar.
How to Progress
Increase practice by improving consistency before adding duration. A useful progression is to establish the seat, refine one technique and develop the habit of observing the breath afterward. Add another method on a different day rather than stacking unfamiliar techniques.
Retention, fixed ratios, rapid active breathing and energetic locks require direct instruction. Their timing and suitability cannot be decided from a generic sequence.
Common Mistakes
- Trying several unfamiliar techniques in one session.
- Making every inhalation as large as possible.
- Forcing a long exhalation.
- Lifting the shoulders and tightening the jaw.
- Using rigid counts that make the breath urgent.
- Adding retention before natural breathing is steady.
- Skipping the quiet observation at the end.
Practice Limits
Stop the technique and return to ordinary breathing if you feel dizzy, breathless, agitated, numb or confused. Do not push through nasal resistance or throat strain. Learn advanced pranayama from a qualified yoga teacher who can observe the practice directly.
Frequently Asked Questions
How long should a beginner practise pranayama?
A few attentive minutes are enough. Begin with one technique and a small number of rounds.
Should pranayama be practised before or after asana?
Many traditions place pranayama after posture practice and before meditation. A short natural-breath observation can also be used at the beginning.
Is breath retention required?
No. Beginners can develop substantial skill through continuous, comfortable breathing without deliberate retention.
Do I need to sit on the floor?
No. A stable chair is appropriate when it supports an upright, relaxed posture.