
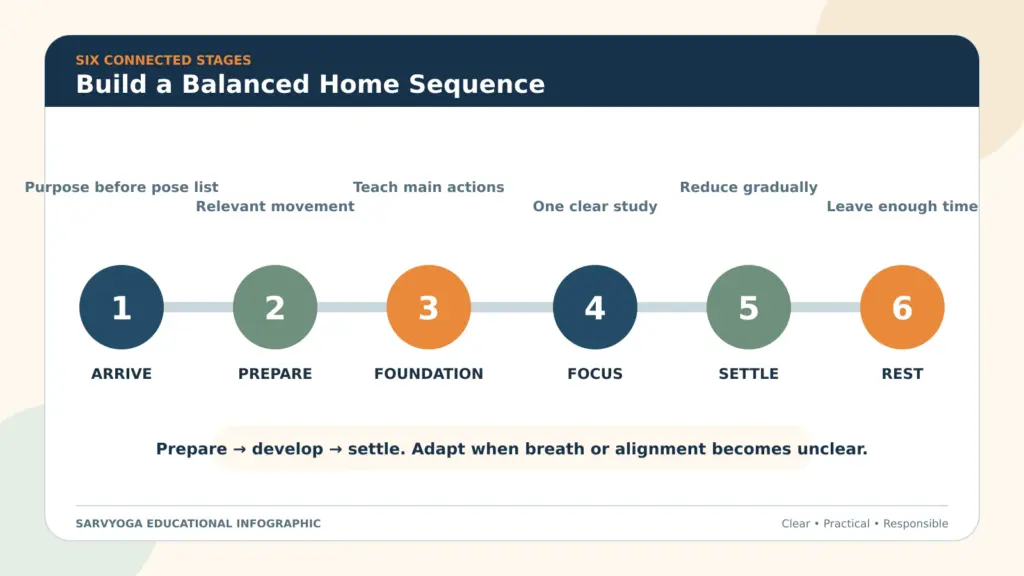
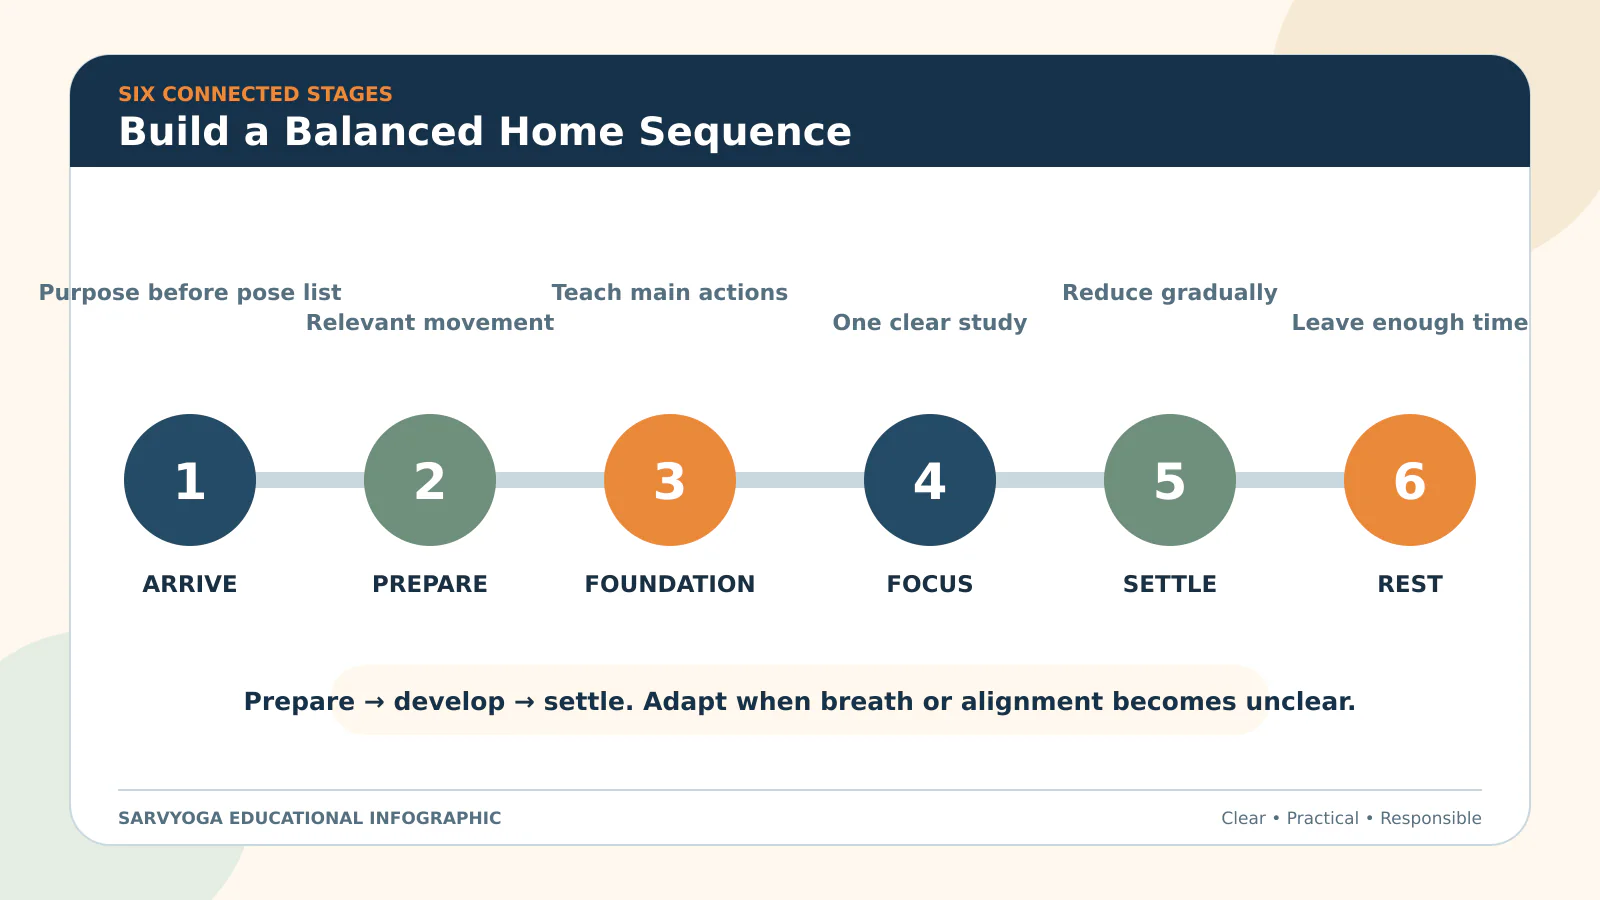
A balanced home yoga sequence has a clear beginning, a manageable focus and enough time to settle before it ends. Balance does not mean including every possible posture family. It means arranging the chosen movements so each stage prepares for the next and the overall effort fits the practitioner.
The method below can be used for a short beginner session or a longer personal practice. Choose familiar poses, keep transitions uncomplicated and leave room to change the plan when the breath or alignment becomes unclear.
Navigator
Begin with the Purpose of the Session
Write one simple purpose before selecting poses. Examples include:
- reviewing standing alignment;
- practising comfortable hip movement;
- coordinating familiar movements with natural breathing;
- studying one balance pose with wall support;
- using gentle movement before seated observation.
A purpose is more useful than a long list of postures. It helps decide what to include, what to leave out and where rest belongs.
The Six-Part Sequence Structure
- Arrival: establish the base, orientation and natural breath.
- Joint preparation: use small movements relevant to the session.
- Foundation: practise uncomplicated poses that introduce the main actions.
- Focused work: explore the principal posture, movement pattern or short flow.
- Settling: reduce the range and return to simpler shapes.
- Rest and observation: finish without rushing into the next activity.
1. Arrival: Two to Five Minutes
Choose standing, a chair or a supported floor seat. Notice contact with the floor and allow the breath to remain ordinary. The arrival shows whether the original plan fits the day.
- Check the space around the mat.
- Place required props within reach.
- Observe the breath without lengthening it.
- Move the head, shoulders, hands and feet gently.
Starting slowly is not wasted practice time. It is the first assessment.
2. Joint Preparation: Three to Eight Minutes
Preparation should relate to the planned actions. A sequence centred on standing balance may include ankle movement, knee bending and supported weight shifts. A seated practice may begin with pelvic movement, shoulder circles and a simple twist.
Marjariasana and Bitilasana are useful when the session includes spinal movement. They are not compulsory openings for every practice.
3. Foundation Poses: Five to Ten Minutes
Foundation poses teach the actions that will return later. For example, before exploring Trikonasana, review the feet, legs and side-body direction in Tadasana and a wide standing position.
- Tadasana for standing organisation.
- Tabletop for hand support and neutral-spine awareness.
- Vajrasana or a chair for seated alignment.
- Low lunge with blocks before deeper hip extension.
Repeat a simple pose when it is still teaching something. Variety is not the same as progression.
4. Focused Work: The Main Learning Stage
This portion may contain a small sequence, a pose family or one principal posture. A “peak pose” is optional. The focus could be a basic action such as moving from Tadasana to a supported one-leg balance.
Use two or three preparatory poses, practise the focus in stages, and repeat only while the setup remains clear. Keep the harder stage shorter than the total preparation.
Example: Standing-Balance Focus
- Tadasana with a wall nearby.
- Slow heel raises while holding the wall.
- Weight shifts from one foot to the other.
- Vrikshasana with the lifted foot low.
- Tadasana between sides.
5. Settling: Reduce Complexity Gradually
Do not move directly from the most demanding pose into final rest. Use one or two familiar positions that reduce effort and restore an even rhythm.
- After standing work, return to Tadasana and then a supported seated pose.
- After backbending, choose neutral or mild flexion rather than a forceful opposite extreme.
- After a one-sided sequence, use a symmetrical position and compare both sides.
- After fast transitions, pause for several ordinary breaths.
A counterpose should answer what the previous pose requires; it is not simply the deepest movement in the opposite direction.
6. Rest and Observation
Reserve at least a few minutes for a stable resting position. Shavasana can be modified with support under the knees and head. A side-lying or chair-supported rest is also valid.
At the end, notice the breath, the contact with the floor and the overall quality of attention. Sit up gradually and allow a transition before standing.
Three Practical Time Templates
20-Minute Practice
- Arrival: 2 minutes
- Preparation: 4 minutes
- Foundation and focus: 8 minutes
- Settling: 2 minutes
- Rest: 4 minutes
30-Minute Practice
- Arrival: 3 minutes
- Preparation: 6 minutes
- Foundation: 5 minutes
- Focused work: 8 minutes
- Settling: 3 minutes
- Rest: 5 minutes
45-Minute Practice
- Arrival: 5 minutes
- Preparation: 8 minutes
- Foundation: 8 minutes
- Focused work: 12 minutes
- Settling: 5 minutes
- Rest: 7 minutes
These are planning examples, not required ratios. If rest is often shortened, schedule it first and build the movement time around it.
How to Choose and Limit Poses
- Prefer poses already learned with reliable instruction.
- Select one to three main actions rather than many unrelated aims.
- Include both sides of asymmetrical postures.
- Keep a stable alternative ready for every balance or weight-bearing pose.
- Remove a pose when its setup consumes attention needed for the session’s main purpose.
- Use fewer poses when transitions are still being learned.
Common Sequencing Mistakes
- Beginning with the most demanding pose before orientation and preparation.
- Adding poses only to make the session longer.
- Changing direction rapidly without a clear transition.
- Repeating the stronger side more often than the less familiar side.
- Using forceful “counterposes” instead of gradual settling.
- Leaving no time for rest.
- Following the written plan after the breath or alignment has become unclear.
Teacher’s Note: Sequence Actions, Not Just Names
A sound sequence connects actions. If the focus is external hip rotation, observe where that action first appears, how it is supported and where it becomes more demanding. Pose names are the containers; the repeated action is the learning thread.
Record a few notes after practice: what prepared the focus well, which transition was unclear and whether the closing phase was long enough. Those observations help the next sequence become more specific.
Practice Limits
Stop or change a pose for sharp discomfort, numbness, tingling, loss of orientation or restricted breathing. Do not use a general sequence as a substitute for individual teaching. A qualified yoga teacher can help adapt the order, range, props and duration for unfamiliar or advanced work.
Frequently Asked Questions
Does every yoga sequence need a peak pose?
No. The focus may be a movement quality, breath coordination, a basic balance or a group of familiar poses.
How many poses should a home practice include?
There is no required number. A short sequence of well-connected poses can be more useful than a long list with hurried transitions.
Can I repeat the same sequence?
Yes. Repetition makes comparison possible. Change one element at a time when the existing sequence is understood.