
Beginner yoga is most useful when the postures are learned as adjustable shapes rather than fixed goals. A steady base, natural breathing and an exit that remains under control matter more than depth. The following 11 beginner yoga poses introduce standing, seated, supported and resting positions that can be practised individually or arranged into a short sequence.
Use a mat, two blocks, a strap, a chair and one or two folded blankets. Learn one change at a time, and keep enough space around the mat to move without rushing.

Navigator
How to Use This Beginner List
- Begin with two or three poses and add more gradually.
- Take ordinary breaths instead of trying to match a demanding count.
- Use a chair or wall before balance becomes uncertain.
- Repeat the standing poses on both sides.
- Finish with a supported resting position.
1. Tadasana

Stand with the feet together or hip-width apart. Spread the weight across the heels and the bases of the toes. Let the arms rest beside the body, keep the ribs over the pelvis and look forward. Tadasana teaches a simple standing reference that can be revisited between other poses. See the full Tadasana guide.
2. Trikonasana

Step the feet wide, turn one foot outward and place the lower hand on the shin, a block or a chair. Lengthen both sides of the waist and keep the chest facing the long edge of the mat as far as comfortable. Look ahead or down when turning the head reduces balance. Learn more in Trikonasana.
3. Adho Mukha Svanasana Variation
Place the hands on a wall or chair and step back until the arms and spine lengthen. Keep the knees soft and the hips behind the heels. This supported version introduces the direction of Downward-Facing Dog without requiring the hands to bear the full position on the floor. Compare it with the Adho Mukha Svanasana guide.
4. Vrksasana Variation
Stand beside a wall or chair. Shift weight into one foot and place the other heel at the inner ankle with the toes on the floor. Keep the pelvis level and use one hand for support. The foot may move to the lower leg only when balance remains clear. Never press the foot against the knee. See Vrksasana.
5. Plank Pose
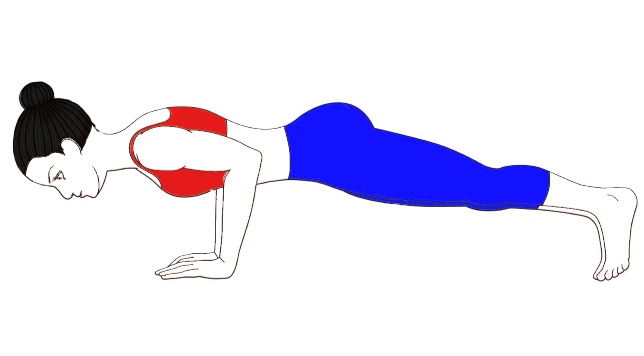
From hands and knees, move one foot and then the other back. Keep the shoulders above the wrists and make one line from head to heels. A knee-down version is appropriate while the hands, shoulders and trunk learn to share the work. Use a short stay and return to hands and knees with control. The complete setup is in the Plank Pose guide.
6. Dolphin Plank Preparation
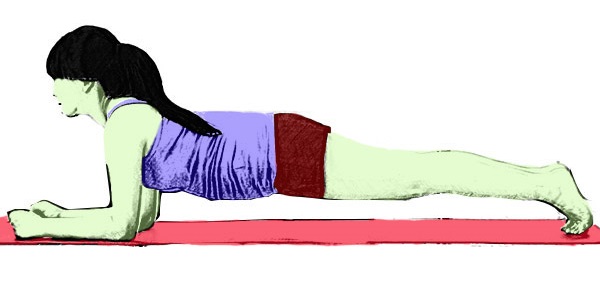
Place the forearms on the mat with the elbows beneath the shoulders. Keep the knees down and walk them back until the body forms a long diagonal line. Press the forearms evenly and keep the back of the neck long. This is an optional preparation; skip it when forearm support is not yet steady.
7. Paschimottanasana Preparation
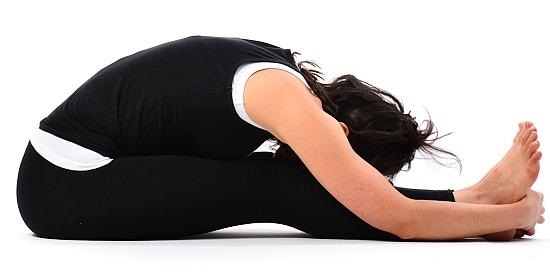
Sit on a folded blanket with the legs extended or softly bent. Loop a strap around the feet and hold it with relaxed shoulders. Hinge a small distance from the hips while keeping the spine long. An upright seated version is complete. Review the full Paschimottanasana guide.
8. Virabhadrasana I
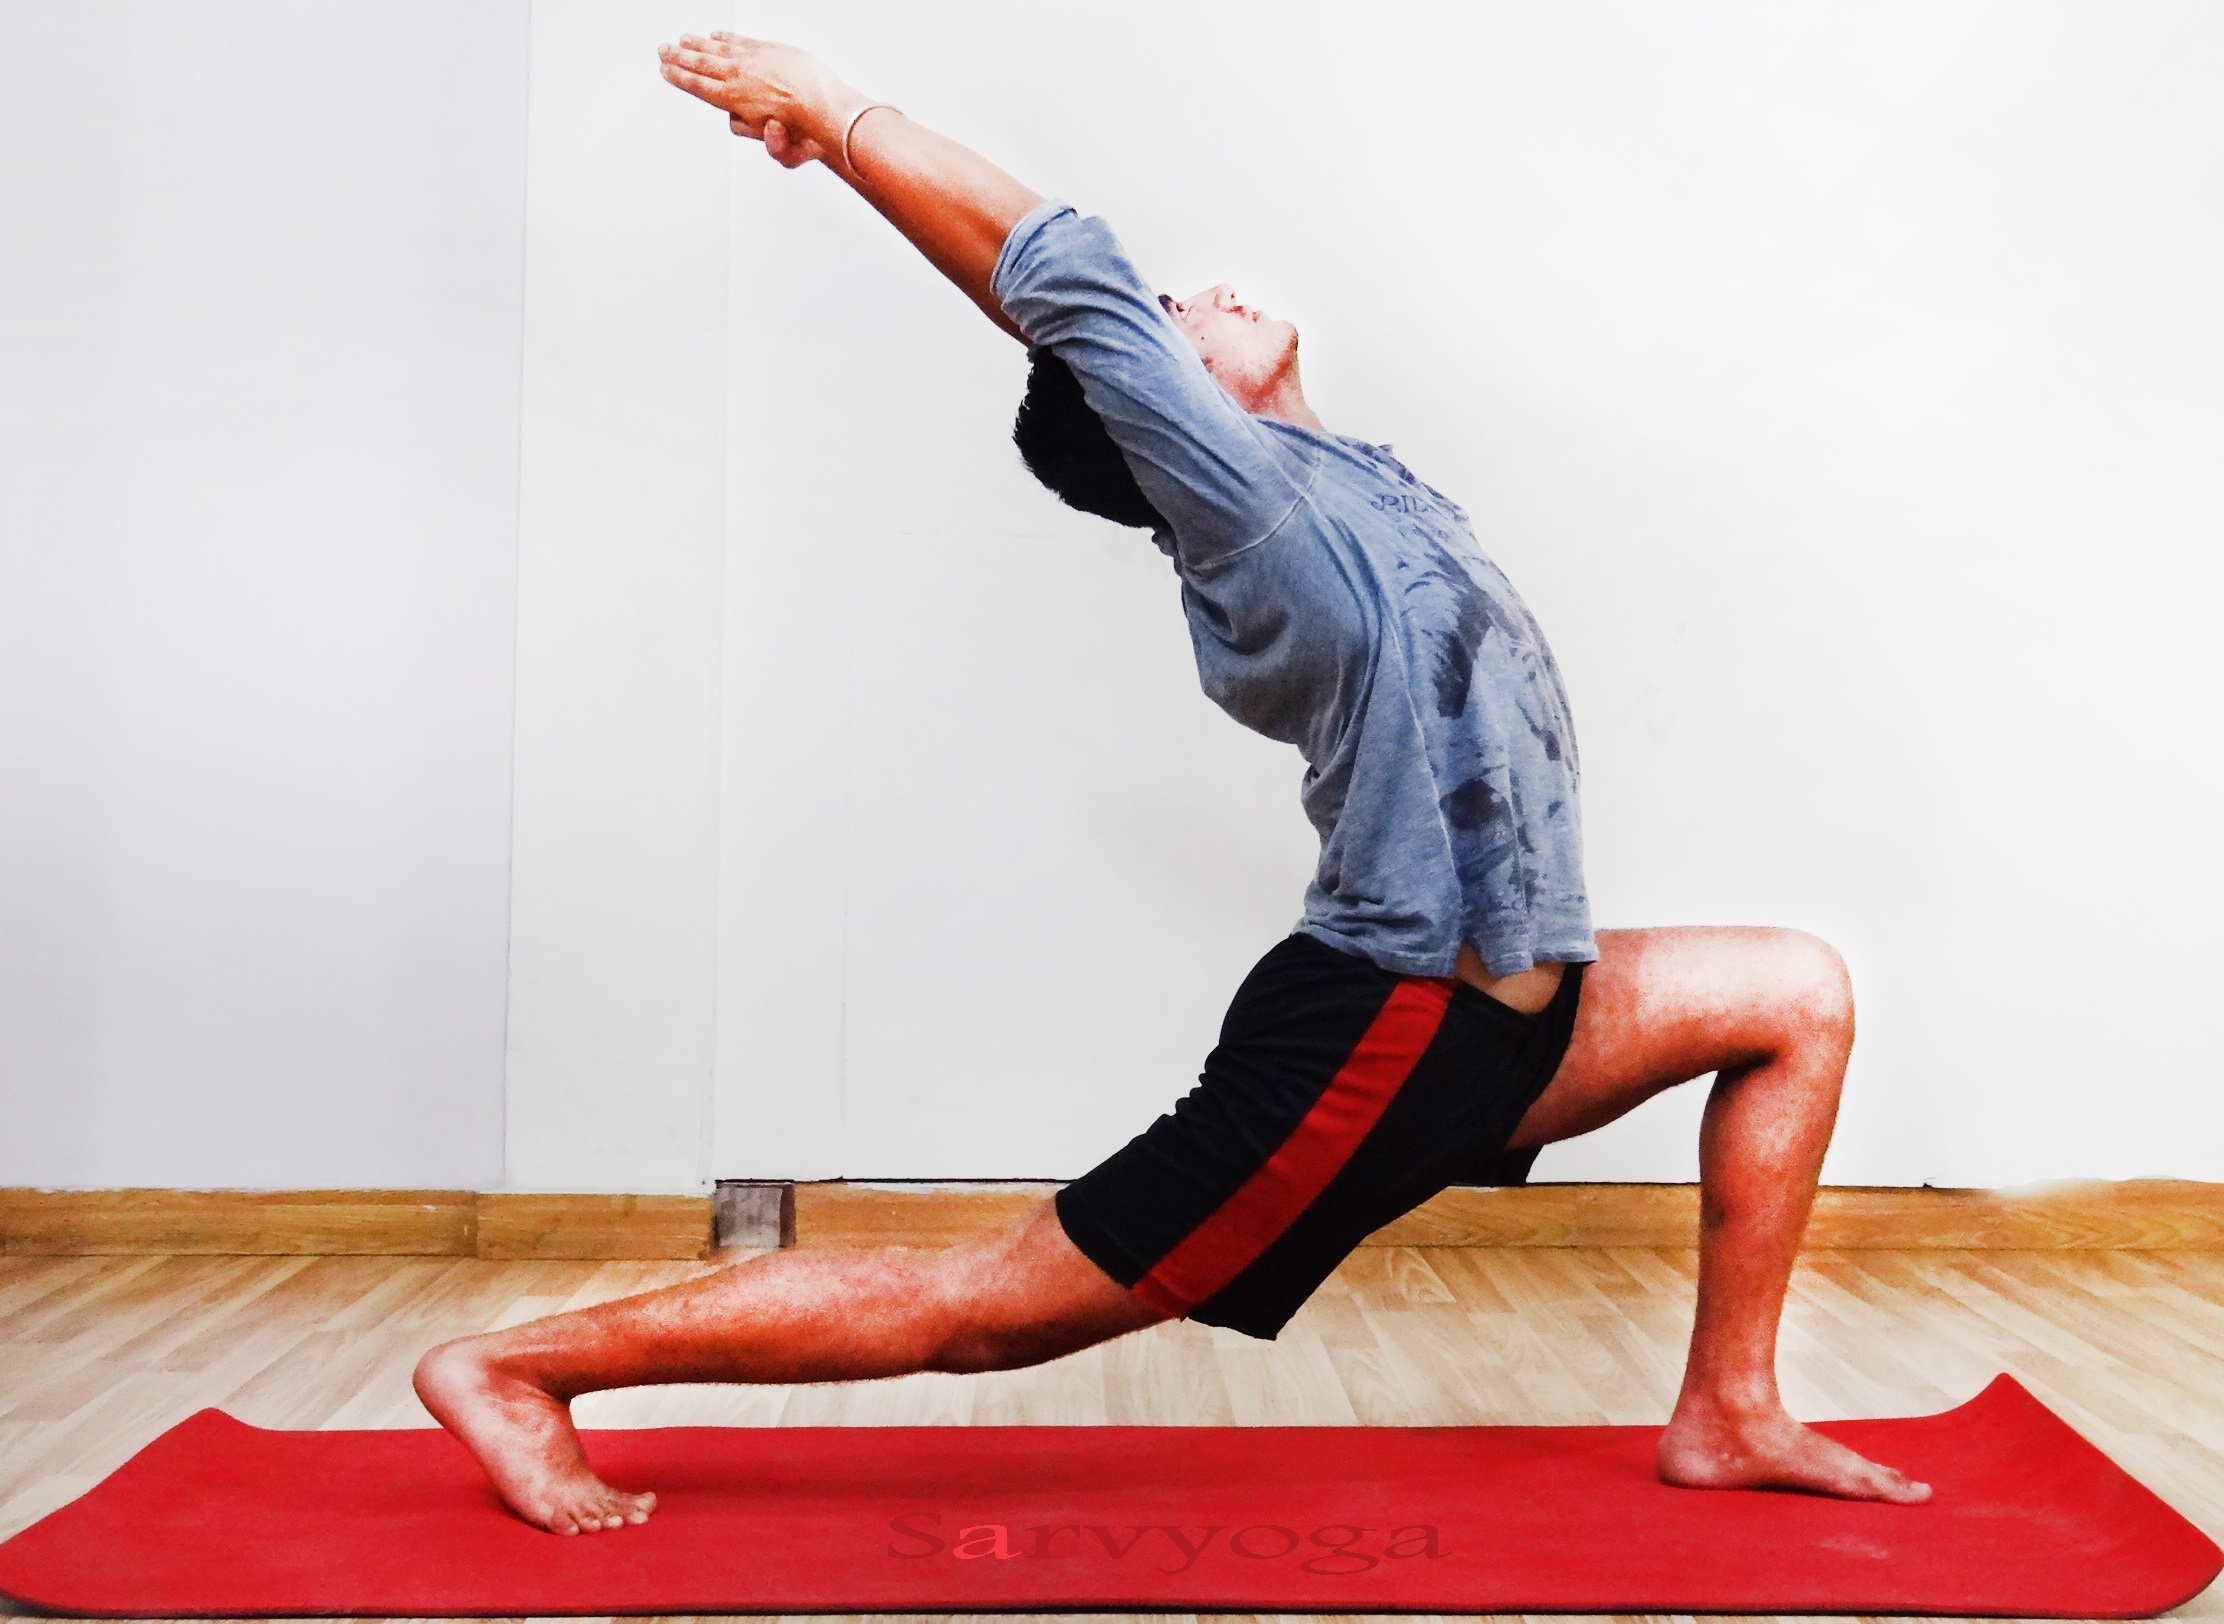
Step one foot back, turn the back heel slightly outward and bend the front knee only as far as the stance stays stable. Keep the hands on the hips or raise the arms without lifting the ribs. Shorten or widen the stance when the pelvis feels crowded.
9. Virabhadrasana II

From a wide stance, turn one foot outward, bend that knee and extend the arms over the legs. Keep the front knee pointing in the same direction as the toes. Rest the hands on the hips when the shoulders tire. Both Warrior variations are introduced in the Virabhadrasana guide.
10. Low Bhujangasana
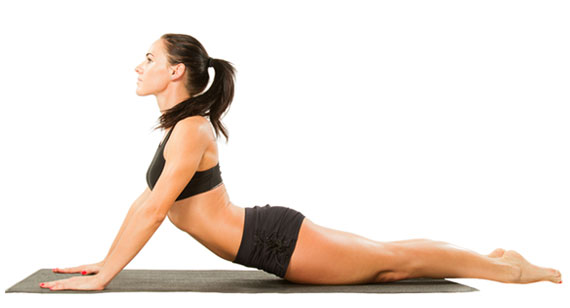
Lie on the front, place the hands beside the lower ribs and keep the elbows pointing back. Press the tops of the feet down and lift the chest a small distance using the back of the body. Keep the hands light and the neck long. Lower before the lower back or shoulders lose ease. See Bhujangasana.
11. Savasana
Lie on the back with a folded blanket beneath the head and support beneath the knees. Place the arms where the shoulders can rest and allow the breath to return to its ordinary pace. A side-lying or chair-supported rest is equally suitable. Stay long enough to finish without rushing.
Build a Short Beginner Sequence
Start with Tadasana, practise one standing side at a time, move to hands-and-knees work, then choose one seated posture and Savasana. A few steady repetitions are more useful than moving through every option. Once the individual shapes are familiar, the Surya Namaskar guide explains how postures can be linked into a traditional sequence.
Common Beginner Mistakes
- Copying the deepest version shown in a photograph.
- Holding the breath during balance or weight-bearing poses.
- Moving quickly between floor and standing positions.
- Using a narrow stance when a wider one would improve balance.
- Skipping the final resting posture.
Practice Limits and Teacher Guidance
Pause for sharp discomfort, tingling, numbness, dizziness or unusual breathlessness. Return to a supported shape or finish in a comfortable rest. A qualified yoga teacher can help select props, organise transitions and reduce the number of poses so the sequence remains clear.