
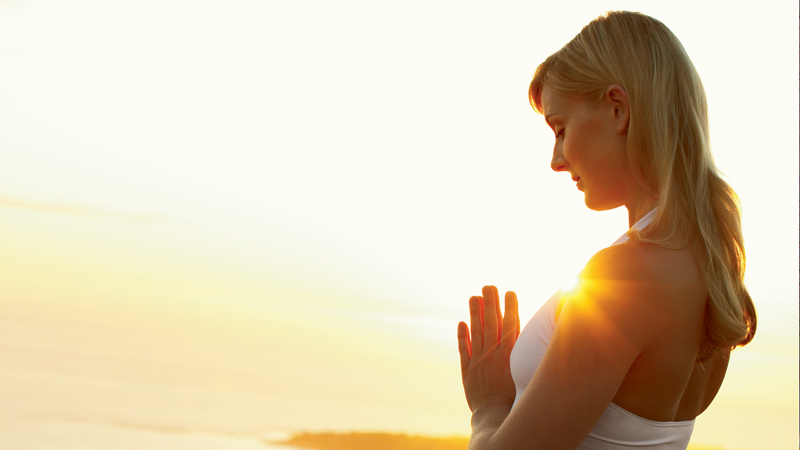
Surya Namaskar, or Sun Salutation, is a linked yoga sequence traditionally used to organise movement, attention and breath. The commonly taught version below has 12 positions. Names and transitions can vary between schools, so learn one clear pattern before mixing details from different versions.
A round moves from standing to the floor and back to standing. Begin slowly, use blocks or a chair where needed and regard every breathing cue as guidance rather than a reason to force the breath.

Navigator
Prepare for the Sequence
- Warm the wrists, shoulders, hips and ankles with simple movements.
- Keep two blocks at the front of the mat.
- Practise the lunge and plank transitions separately.
- Begin with one or two slow rounds.
- Use ordinary breathing whenever the suggested pattern feels rushed.
The 12 Steps of Surya Namaskar
1. Pranamasana — Standing Centre

Stand evenly and bring the palms together or keep the hands apart at the chest. Let the exhalation finish naturally. Keep the gaze level and the shoulders relaxed.
2. Raised Arms Position

Inhale and raise the arms. Lift through the sides of the waist without throwing the head back. A small upper-back extension is enough; keep the lower ribs connected to the pelvis.
3. Standing Forward Fold

Exhale, bend the knees and hinge forward from the hips. Place the hands on blocks or the floor. Keep enough knee bend for the torso to rest close to the thighs.
4. Low Lunge

Inhale and step one foot back. Lower the back knee when needed. Keep the front knee above or behind the ankle and lengthen the chest forward between the arms.
5. Plank Position

Hold the breath only if that is part of an established practice; otherwise exhale or breathe normally while stepping the second foot back. Keep the knees on the floor for a supported plank.
6. Knees, Chest and Chin

Exhale, lower the knees and bring the chest forward between the hands while the hips remain slightly raised. This transition requires clear shoulder control. An easier option is to lower the whole torso to the floor.
7. Low Cobra Position

Inhale and lift the chest a small distance. Keep the elbows pointing back and the hands light. Lengthen the back of the neck and avoid pushing into a high backbend.
8. Downward-Facing Position

Exhale, press through the hands and move the hips back and up. Keep the knees bent if that helps lengthen the spine. A hands-on-chair version can replace this floor position.
9. Low Lunge Return

Inhale and step the same foot that moved back in step 4 forward between the hands. Use blocks and lower the opposite knee. Several small steps are acceptable.
10. Standing Forward Fold

Exhale and step the back foot forward. Bend the knees, settle the feet and let the torso move toward the thighs. Keep the head relaxed.
11. Raised Arms Return

Inhale, press through the feet and rise with a long spine. Raise the arms only as high as the shoulders stay easy. Avoid leading with the chin.
12. Standing Finish

Exhale and return the hands to the chest or beside the body. Pause in standing and notice the breath before beginning the second side.
Breathing Pattern
The usual pattern alternates inhalation with opening or lengthening movements and exhalation with folding or lowering movements. Transitions do not always fit one breath, especially while learning. Take an additional breath rather than rushing the feet or losing alignment.
Chair and Block Modifications
- Place both hands on blocks during the forward fold and lunges.
- Keep the back knee down in each lunge.
- Use a wall or chair for the downward-facing position.
- Replace knees, chest and chin with a controlled whole-body lowering.
- Step one foot at a time and take several smaller steps when returning forward.
- Practise only the standing half when floor transitions are not clear.
Common Mistakes
- Moving faster than the breath and foot placement allow.
- Locking the knees in forward folds.
- Dropping through the shoulders in plank and lowering transitions.
- Forcing a deep backbend in the raised-arms or cobra positions.
- Trying to step forward in one motion when smaller steps are steadier.
- Repeating many rounds before the individual positions are familiar.
Practice Limits and Teacher Guidance
Stop for sharp discomfort, tingling, numbness, dizziness or unusual breathlessness. Return to standing or a supported rest. A qualified yoga teacher can help separate the sequence into smaller sections, choose chair alternatives and clarify the breathing pattern.
Can you put a video also for the asana?
Hello Rajesh
You will get videos soon, currently we are working on it.
thanks
Thanks for this videos with poses. this really helped me a lot.
& i want to mention that i like your work and your page is the one i like to refer always for any kind of yoga pose.
I want to tell you that there is a mistake in the mantras the khagaye namaha will be after bhanuvae namaha in step 4 there is a big mistake please correct this as soon as possible or else your page can get a negative publicity because sun salution is a very important yoga pose. i like your page!
thank you for your valuable suggestion, now we have fixed it, please keep supporting us
I have a humble request to you that you please make a hindi version of your website.
Thanx @Ishan, for your suggestion, In future we’ll think about this, by the way this is an excellent idea. for this we have to hire more people.If our website ranking well then definitely we’ll make hindi version of this website. May god bless you. for the time being keep practice with english text and in our website we use simple english language by which everybody understand what we want to say about particular topic. We need visitors like you so, thnx for connecting with us. Keep practicing and keep visiting our website for more updates.
Nice articles, keep the good work… Please let me know if i can help you with hindi translation…
@Jami, thnx for asking help; definitely in future if we need Hindi translation then we’ll approach you. May God bless you.
Thank u Arahan….
Thank you so much . I loved your site and the posts are fantastic . Again thank you so much .
Thank you so much for appreciating our work. We Try our level best to give you simple and easy advice. May God bless you. Keep visiting our site.
Very good read. Thanks for the article.